Showing posts with label House. Show all posts

January 23, 2014

Bathroom renovation

Since we sold our house and moved into our rental property we have been tackling some updates that the place needs. The first one was the bathroom.  We didn't really have a plan in mind when we went to Menard's to buy stuff, and since it's a rental we decided to try to keep the costs down in case we have to replace things in a few years.   The whole reno took us about 2 days and only cost around $400.  The problem now is that the bathroom is nice and looks like it doesn't fit in this house.


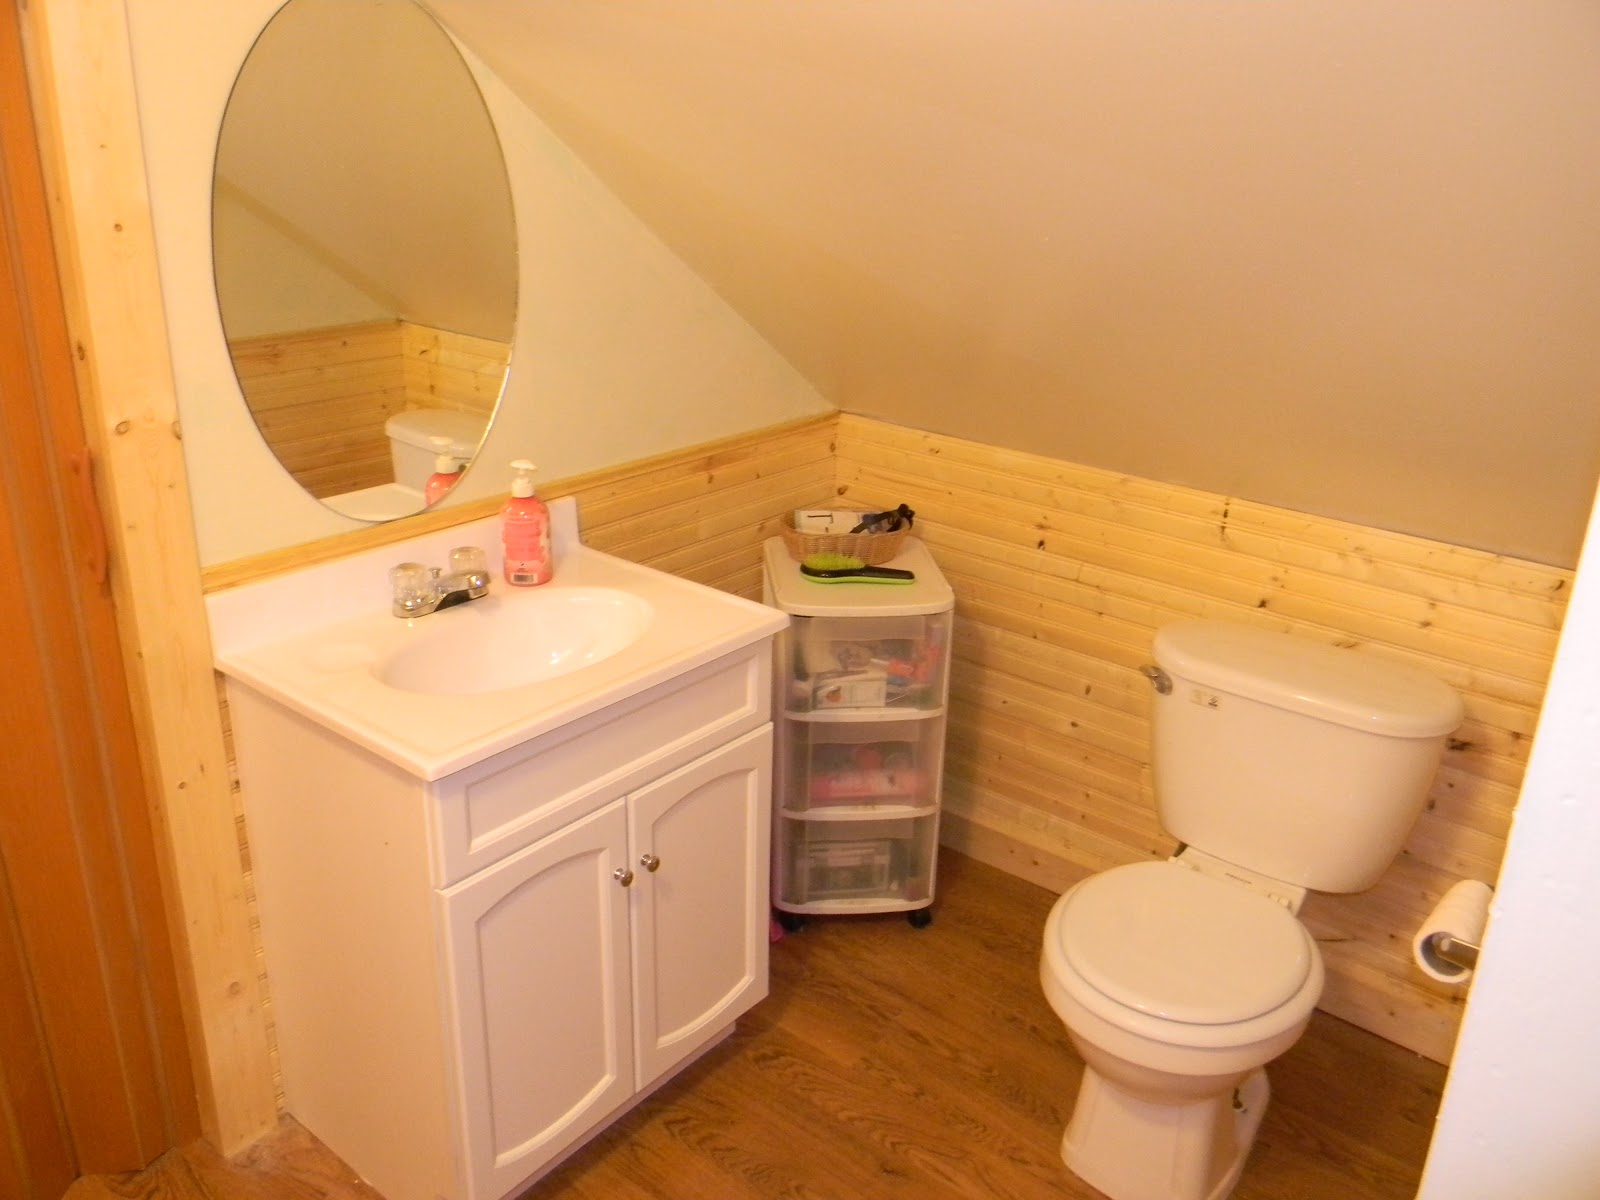
Here's the before. Mike redid this all when he bought the duplex 8 years ago. The floor is just peel and stick linoleum that was coming up near the tub, the vanity and toilet were dirty and have seen better days and the walls were quite dirty. 


The first step was to peel up all the linoleum and remove the vanity and toilet. We waited until the last possible minute to remove the toilet because it's the only one in the house.  The floor came up pretty easy, but then we were left with a big sticky mess on the floor, it's just cement.  We tried scrapping, goo gone, boiling water and scrubbing. Finally what worked was a can of mineral spirits. However, it smelled awful, but it did the trick. 


For the floor we decided to put down vinyl tiles that you grout.  We've never used them before as we had all wood or ceramic at our last house, so we weren't sure if we would like them, but they were a little cheaper and much faster than ceramic. Once we got all the glue off the floor you have to put down a primer. You just roll it on with a paint roller and wait for it to dry. 


Once we started the tile, Mike did all the cut pieces and I did all the big pieces. This part went really quick. I was done with the whole pieces before he had even stuck down the tiles around the toilet.  After all the tile was in we put in the new toilet, new vanity, new medicine cabinet and new baseboard heater.  We went back and forth over removing the heater or getting a new one, but since it had the wiring right there near the base of the bathtub and Mike didn't really want to leave the wires where they could somehow get wet we decided just to replace it with a new one. 


Next up was grout.  Last time we did ceramic Mike was the grouter and I was the cleaner. However, there wasn't space for both of us so Mike got to do it all just working his way towards the door.  The directions said to clean the grout off right away, but we noticed that he was just wiping the grout right out of the cracks so we sort of skipped this step for now.  We let it dry for the recommended 72 hours and then went back with a amonia based cleaner and cleaned all the tiles. It took a while, but was much better than having to re-grout because we weren't making any progress.  


After Mike was done I got to paint. Yes, you probably should paint before you install all new flooring and other items, but we weren't sure which color we wanted to go with. We decided to go with a very light gray color.  We also purchased a new door and of course we got new white trim.  We also moved the medicine cabinet down and install a light bar above it.   


It's such a huge improvement and I am in love with the tile.  

Here's a price breakdown-
Tile $1.70 a sq. ft. x 40 sp. ft = $68
Toilet  $90
Vanity  $50
Medicine cabinet  $50
Light $15
Door $50
Paint & Grout Supplies  $30

So this whole project was $353 give or take a few dollars. Not to bad for a practically brand new bathroom.  

January 6, 2014

And it's SOLD!

Exactly 6 months after listing our house for sale we accepted an offer on it!! Over the six months it was listed I would say we had maybe 10 showings and we dropped the price once but we finally got an offer. 

That was back in October, it took 2 months to complete all the FHA repairs, paperwork and everything else that was involved, but just 2 days after Christmas we closed on it. 

These are the final pictures just an hour before closing. It was a little emotional for me because we bought the house when Marley was just 4 months old and to me it was our first "family" home. Even though we lived somewhere else before it just wasn't the same when we moved out of there. 


FHA required us to put up a railing on the stairs along with a few other "required" fixes


You can see some of the before pictures from when we bought the house here if you want. 

We are currently living in our rental until until spring time (moving in the snow wasn't fun at all) While we're here we are doing some small upgrades so I will be posting those as we get to them. 

April 28, 2013

This little housey went to market

On April 18th we officially put our house up for sale. We bought the house back in 2008. It's a cute little house, but we've outgrown it and we're wanting more land and less neighbors.  

I posted back in October of 2011 some pictures of the house when we bought it and during our renovation process. Now that it's mostly all done it's a little weird honestly. I'm used to always having some project going on. 

Half of the living room

View from the front door.

Half of the kitchen. 

The kitchen

Dining room

Our room. 

Downstairs bathroom

Office space at the top of the stairs

Marley and Mason's room. 

Hallway to bathroom and attic.

and upstairs bathroom. 

This house has come a long way since we bought it and we hope someone will enjoy it as much as we have!!

November 12, 2012

Wax on, Wax off part 2

So now that I had my jar all clean it was time to make a "new" candle. (See how to clean your jar here)

First, I boiled some water. Once it was boiling, I just carefully set my old jars in the water and waited for them to melt.

I took my clean jar and my new wick and rigged up this little system to hold my wick in the middle and straight up while pouring the hot melted wax in.


After I poured the hot wax in, I placed it in the refrigerator so it would harden and started over with melting another candle.

I did this process for each old candle I had. My new candle has a nice stripey pattern to it and the house smelled really good from all the melted candles.


But now, I have a bunch of empty glass jars and I don't really know what to do with them. Does anyone have any ideas? Or should I just scour pinterest like I do for hours every night?

November 9, 2012

Wax on, wax off

I saw on Pinterest a few different ways to get that last little bit of wax out of your candle jars. I finally made it out to Hobby Lobby to buy some wicks, so I decided to give it a try. 


Here's all my "used" candles. My goal is to melt all the wax and combine it and make a new candle. 

First, I needed a clean jar. I had this one and it was pretty good size so I went with it. All you do is boil water on the stove. Once it's boiling for a few minutes, carefully pour it into the candle jar. Almost immediately you will see the wax on the bottle start to melt and float up to the top. It's pretty neat looking. 


Once it had all floated to the top I used a piece of metal to reach in and get the wicks out. And I stirred it a little just to help the remaining wax make its way to the top of the jar. (Be careful, it's very hot)


After a few hours, the water was cool and the wax on top was hard so it was time for the next step.


See how cool! (I was very excited that this actually worked)


I used a pencil to poke two holes in the wax so I could pour the water out. Then I cut the wax in half and pulled it out. I saved the wax to melt to use in my new candle. 


Cleaned the black stuff off the jar and made sure all the old wax was out and now it's like new and ready to become a candle again! 


Check out Part Two- making a new candle


Anyone have any other methods? I've heard of putting them in the freezer too, but have never tried it. Have you?